Welcome to our article on materials and tools needed for DIY gutter guards! If you’re looking to save some money and take matters into your own hands, then this is the perfect read for you. In this guide, we will cover all the necessary materials and tools you need to create your very own homemade gutter guards. Whether you’re a novice DIY-er or a seasoned pro, we’ve got you covered. So, let’s get started on your journey to protecting your gutters with these budget-friendly options. Get ready to learn about the best materials and tools for creating DIY gutter guards in our comprehensive guide.
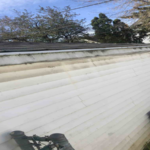
Firstly, let’s talk about the main search intent for this topic – protecting your gutters from leaves and debris. We will be covering different types of gutter guards such as covers, screens, and DIY options. It’s important to understand the benefits of gutter guards, such as preventing clogs and potential damage to your gutters. This can ultimately save you money in the long run.
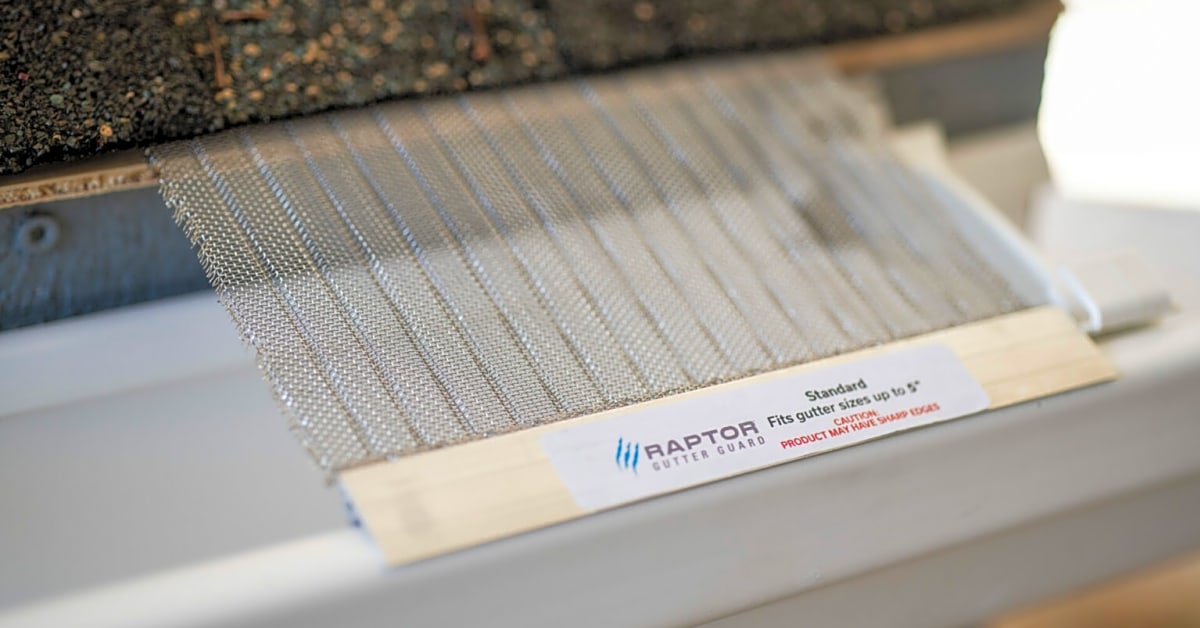
Now, onto the materials you will need. The most important material is the gutter guard itself, which can be made from various materials like aluminum, plastic, or steel. You will also need a measuring tape, scissors or a utility knife, and a drill. Other optional materials include gloves, ladder stabilizers, and caulking. Make sure to have all these on hand before starting your project.
When it comes to installation, there are a few key steps to follow. Measure your gutters and cut the gutter guard material to fit. Next, use the drill to secure the guard in place, making sure to leave a slight overlap at the ends. Finally, seal any gaps or seams with caulking to ensure proper coverage.
Some people may argue that hiring a professional to install gutter guards is a better option. However, DIY gutter guards can save you money and give you the satisfaction of completing the project yourself. Plus, with the right materials and tools, it can be a simple and straightforward process.
Different Types of Gutter Guards
When it comes to gutter guards, there are several options to choose from. These include covers, screens, and DIY options that you can easily make at home. Each type has its own unique features and benefits, so it’s important to understand the differences to determine which one is the best fit for your needs.
Installation Process
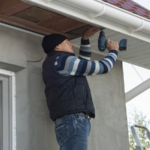
Follow these key steps to properly install your DIY gutter guards and ensure long-term protection for your gutters. First, gather all the necessary materials and tools, including gutter guards, scissors, measuring tape, a ladder, and gloves.
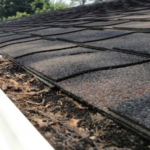
Next, clean out your gutters thoroughly before installing the guards. This will ensure that they are free of any debris or obstructions that could affect the installation process.
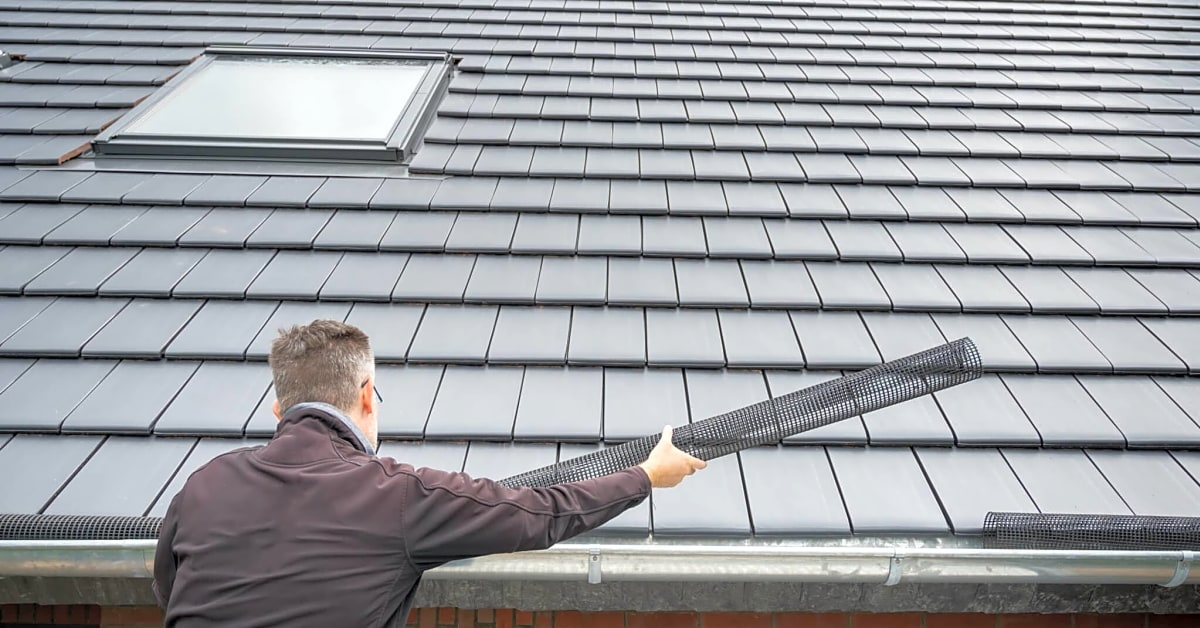
Measure and cut the gutter guards to fit the length of your gutters. Make sure to leave a few extra inches on each end to allow for overlap and secure attachment.
Using the ladder, carefully place the guards on top of the gutters, making sure they are securely attached. You can use clips or screws to secure them in place.
Once all the guards are installed, test them by running water through your gutters. This will allow you to check for any leaks or areas that may need further securing.
In conclusion, following these steps will ensure a successful installation of your DIY gutter guards. With proper installation and maintenance, these guards can provide long-term protection for your gutters and save you time and energy in the long run.
Materials Needed for DIY Gutter Guards
Make sure to have all the necessary materials on hand before starting your project. These materials include:
- Gutter guards – These can be purchased at your local hardware store or online. They come in various materials such as aluminum, plastic, and steel.
- Tin snips – These will be used to cut the gutter guards to fit your specific gutter size.
- Gloves – To protect your hands while handling the materials.
- Safety glasses – To protect your eyes from any debris that may fly up while working.
- Measuring tape – To ensure accurate measurements for cutting the gutter guards.
- Marker or chalk – To mark the cutting lines on the gutter guards.
- Hacksaw – In case you need to make any adjustments to the gutter guards.
- Screws – To secure the gutter guards in place.
- Screwdriver or drill – To install the screws onto the gutter guards.
With these materials, you’ll be well-equipped to tackle your DIY gutter guard project and enjoy a cleaner and more efficient gutter system.
In conclusion, DIY gutter guards are a great option for those looking to protect their gutters from leaves and debris. With the right materials and tools, installation can be simple and cost-effective. Remember to consider the different types of gutter guards available and choose the one that best fits your needs. Happy DIY-ing!