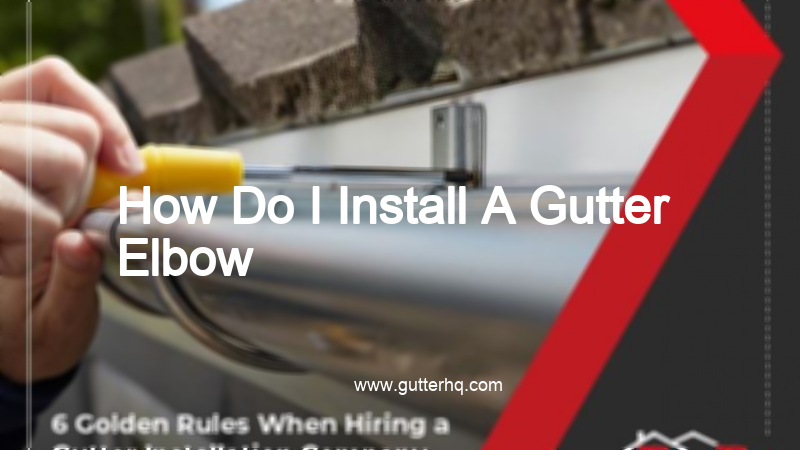
Begin by measuring the section of the gutter where you will be installing the elbow. Cut a piece of gutter to size using a hacksaw.
Clean the inside and outside of the gutter with a rag to remove any dirt or debris.
Apply a bead of sealant to the outside edge of the gutter.
Place the gutter elbow into the gutter and press it into place.
Secure the gutter elbow in place with screws.
Repeat steps 1-5 for each gutter elbow you need to install.
What is the difference between A and B style gutter elbows?
There are two main types of gutter elbows- A style and B style. The main difference between the two is the angle of the bend. A style gutter elbows have a 90 degree bend, while B style gutter elbows have a 60 degree bend. The angle of the bend will affect how well the gutter elbow directs water away from the building. In general, A style gutter elbows are more effective at directing water away from the building, but B style gutter elbows are more aesthetically pleasing.
What angles do downspout elbows come in?
The most common angle is 45 degrees, however, the angle that is needed depends on the specific installation. 60 degree elbows are typically used when the downspout needs to make a sharp turn, while 90 degree elbows are used when the downspout needs to make a very sharp turn.
How do you connect gutter downspouts together?
In order to connect two or more gutter downspouts together, you will need some type of connector. The most common type of connector is a plastic or metal elbow. You will also need a hacksaw in order to cut the downspouts to the proper length. Once the downspouts are cut to size, the elbows are placed on the ends and the downspouts are pushed together. The final step is to seal the connection with some type of sealant.
How do you crimp downspout elbows?
Crimping downspout elbows is a simple process that can be done with a few tools. First, you will need a crimping tool. This can be purchased at most hardware stores. Second, you will need a piece of metal or a strong piece of plastic to use as a template. Place the template over the top of the elbow and trace the outline with a pencil. Next, use the crimping tool to crimp the edges of the elbow along the template. Start at the top and work your way down. Once the entire outline has been crimped, remove the template and you are finished.
What is the best slope for gutters?
There are a few factors to consider when deciding on the best slope for your gutters. The first is the climate. If you live in an area with a lot of rain, you’ll want to make sure your gutters are sloped properly so that the water can drain away quickly. The second factor is the type of roof you have. If you have a flat roof, you’ll want to make sure your gutters are sloped so that the water can drain away from the edge of the roof. The third factor is the type of gutters you have. If you have seamless gutters, you’ll want to make sure they’re sloped properly so that the water can drain away quickly.
What gutter shape is best?
There are a few factors to consider when choosing the best gutter shape for your home. The most important factor is the type of roof you have. If you have a sloped roof, you’ll want to choose a gutter shape that can handle the runoff effectively. Another factor to consider is the amount of precipitation your area receives. If you live in an area with a lot of rain or snow, you’ll want to choose a gutter shape that can handle heavy runoff. Finally, you’ll also want to consider the aesthetics of the gutter shape. Some people prefer the look of a traditional gutter, while others prefer a more modern look.
Final Talk
There’s no need to be intimidated by the process of installing a gutter elbow—it’s actually quite simple. Just follow the steps outlined in this blog post and you’ll have it installed in no time. And once it’s installed, you’ll be able to enjoy the peace of mind that comes with knowing your gutters are properly functioning.
How much should labor cost to install gutters? How much does it cost to install gutters per foot? Having seamless aluminum gutters professionally installed on your home will cost around $7 to $33 per linear foot. The average per-foot cost…
Start by measuring the inside width of your gutter using a tape measure. You'll need this measurement to purchase the correct size elbow.Cut a piece of gutter elbow to the appropriate length using a hacksaw.Slip the gutter elbow onto the…
Start by measuring the length of the gutter run. This will determine the number of elbows you need.Cut your gutters to the correct length, using a saw.Install your gutter hangers, using screws or nails.Slip the gutter elbow onto the end…
Begin by measuring the section of the gutter where you will be installing the elbow. Cut a piece of gutter material to this size, making sure to leave enough room for the elbow to fit.Next, mark the center of the…
First, you'll need to find the point on your gutter where you want to install the elbow.Measure from the edge of the gutter to the point where you want the elbow, and mark the gutter at that point.Next, you'll need…
Begin by cutting a hole in the gutter using a hole saw. The hole should be slightly smaller than the diameter of the downspout elbow.Next, insert the downspout elbow into the hole.Once the downspout elbow is in place, use a…
How far apart do you install gutter hangers? Hanger Spacing If you live in a warm area with less rain, then you should install your gutter hangers near the middle of the gutter every 24 inches or where there is…
How should gutter guards be installed? Homeowners can install many types of gutter guards in or over the gutter. For a foam or brush gutter guard, place the product inside the gutter. For a mesh or micro-mesh screen, slide one…
How do you seal gutter end caps? Place your ladder below the broken or leaking end cap. Make sure your ladder is steady before proceeding.Check the problem area for damage. ... Clean the gutter of debris and old caulk. ...…
Should there be flashing behind gutters? Why Flashing is So Important. Flashing creates a seal between your gutters and your roof line, which allows water to flow off your roof and into the gutter. Without it, some water would also…
Which way do slip joint washers go? A: The beveled end goes into the slip joint connection. The nut will push against the flat side. Should you screw gutter joints? There is no need for sealant or screws to any…
Begin by measuring the length of your gutter and cutting it to size.Next, mark the location of the hangers on the gutter.Drill pilot holes at the marked locations.Attach the hangers to the gutter using screws.Hang the gutter on the fascia…
Can I install gutter guards myself? If you have some general handyman skills, you should be able to install most types of gutter guards without a problem. But keep in mind that some gutter guards are more difficult to install…
To install a gutter downspout elbow, first measure the length of the downspout you will be using. Cut a piece of gutter downspout material to this length, using a hacksaw. Next, mark the center of the top of the downspout…
Can I install gutter guards myself? If you have some general handyman skills, you should be able to install most types of gutter guards without a problem. But keep in mind that some gutter guards are more difficult to install…
Can I install gutter guards myself? If you have some general handyman skills, you should be able to install most types of gutter guards without a problem. But keep in mind that some gutter guards are more difficult to install…